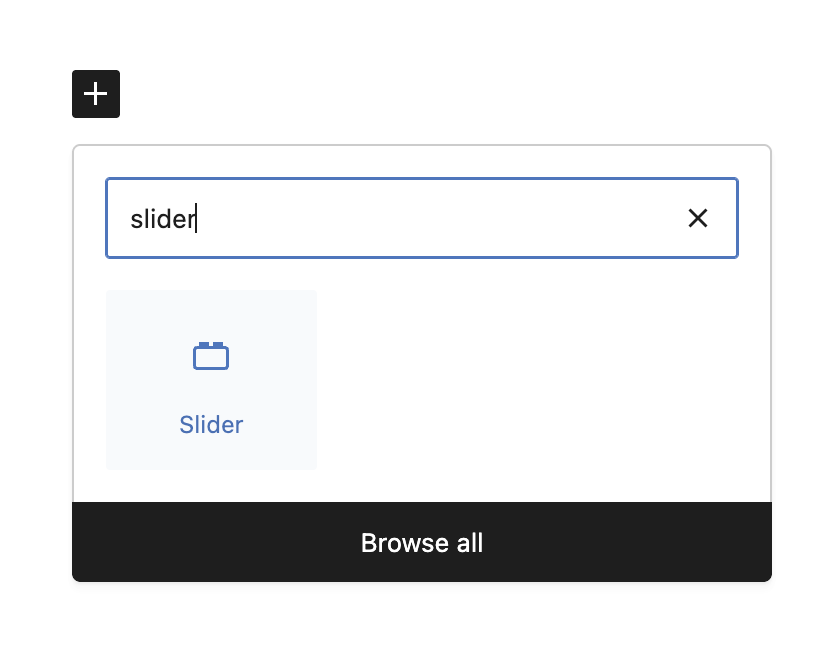
Step 1: Add the Slider Block
Search for “Slider” in the block inserter and click to add it to your page.
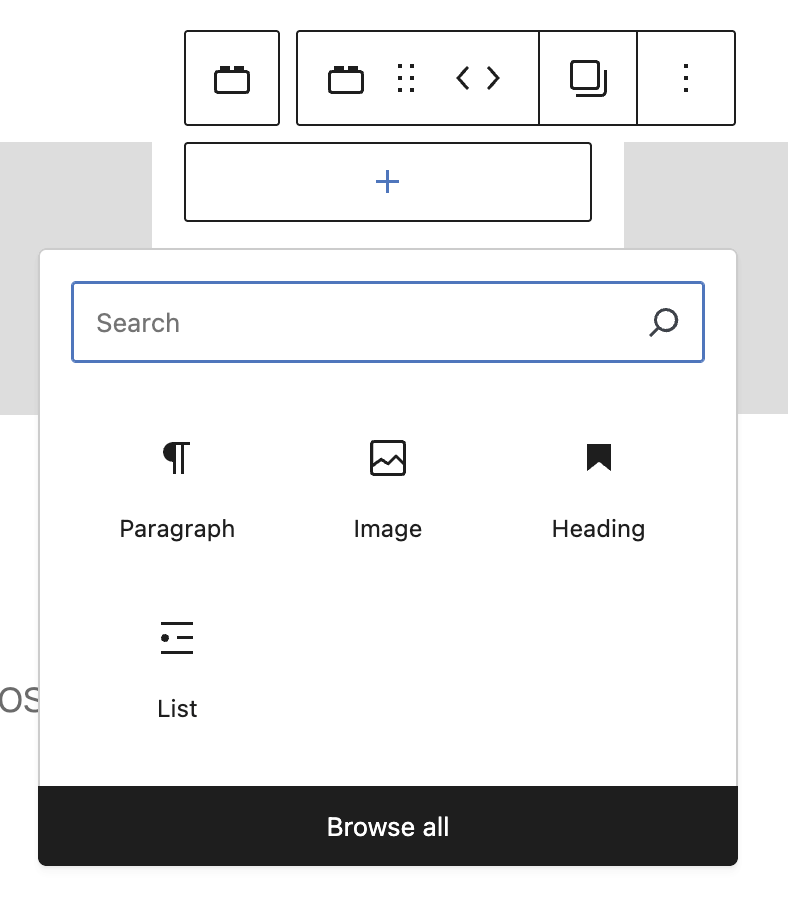
Step 2: Add Your Content
Each slide can contain any WordPress blocks – images, text, buttons.
- Click on a slide to edit its content
- Use the + Add block button inside slides
- Drag and drop content blocks into slides
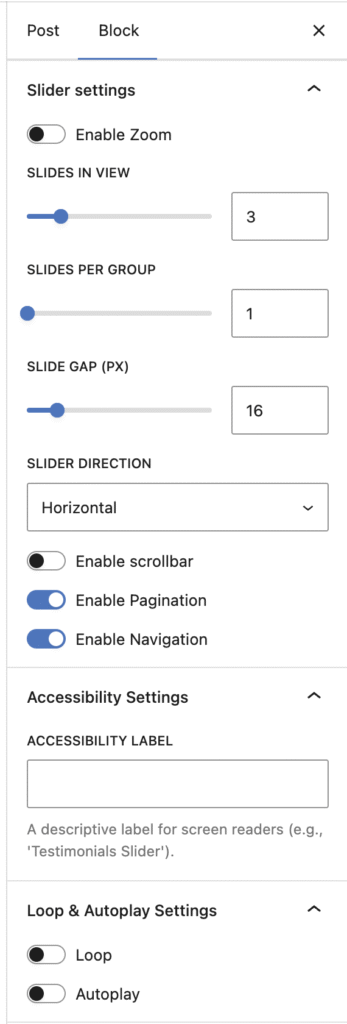
Step 3: Configure Your Slider
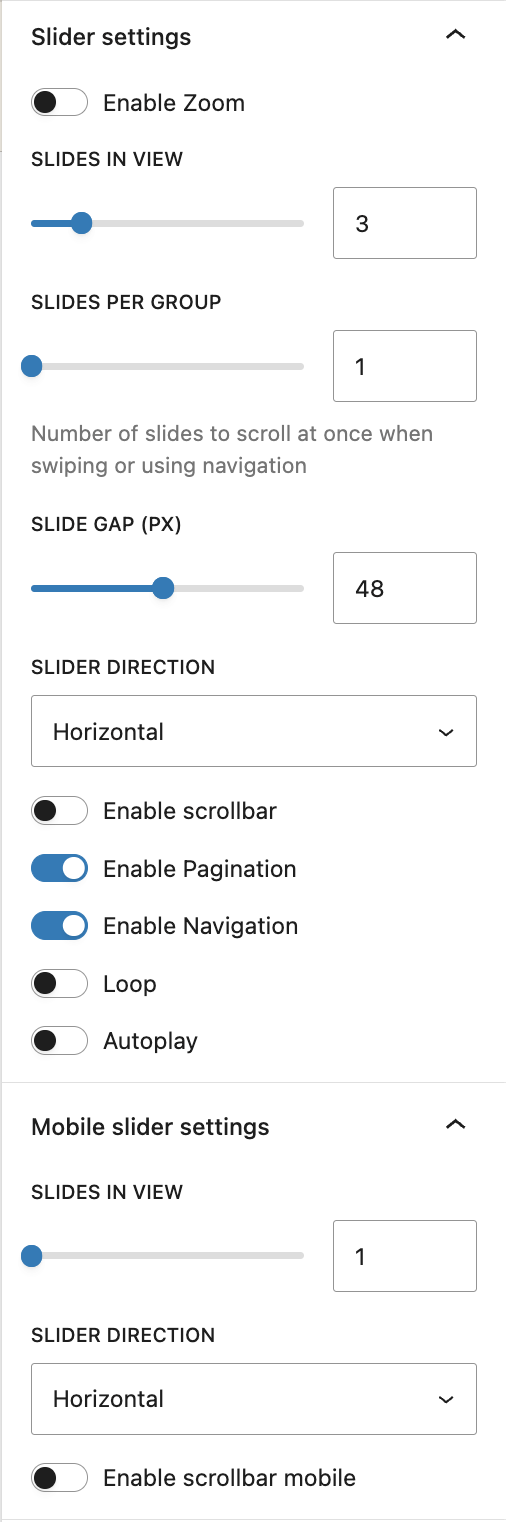
With the slider selected, open the Inspector Controls (right sidebar) to adjust settings:
- Slides Per View – How many slides show at once
- Slide Gap – Space between slides
- Navigation – Show/hide arrow buttons
- Pagination – Show/hide dot indicators
Step 4: Manage Your Slides
Use the Slide Manager in the sidebar to organize your slides:
- Add New Slide – Click the blue button to add slides
- Rename Slides – Click the name to edit it
- Reorder – Drag slides to change their order
- Duplicate – Copy slides with their content
- Delete – Remove slides you don’t need
Advanced Settings
Zoom Mode – Bird’s Eye View
Toggle Zoom Mode in the block toolbar to see all slides at once!
- Overview – See all slides in one view
- Reorder – Drag slides to rearrange them
- Auto-zoom – Optional auto-centering on selected slides

Style Variations
Choose different styles from the block toolbar:
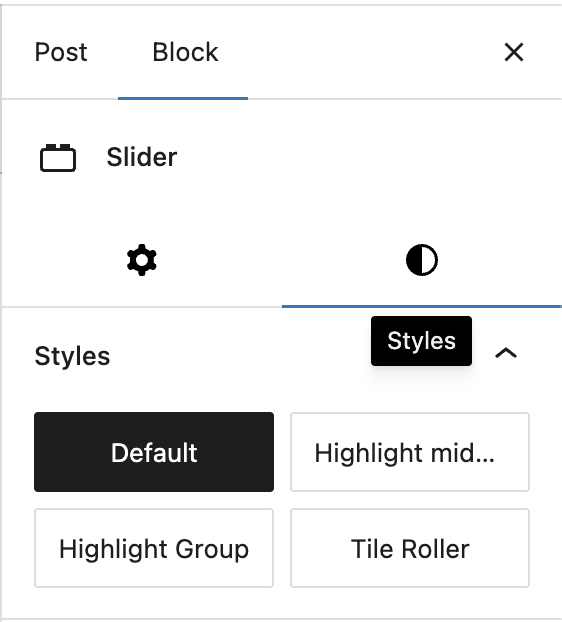
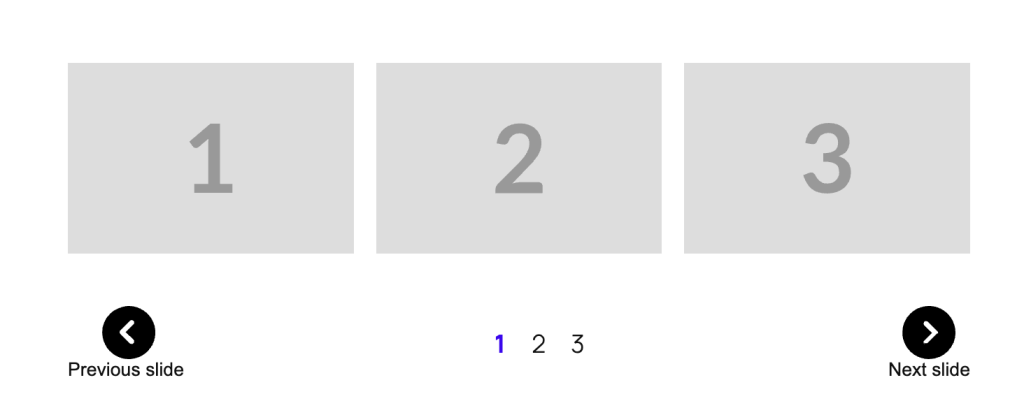
Default – Classic carousel slider
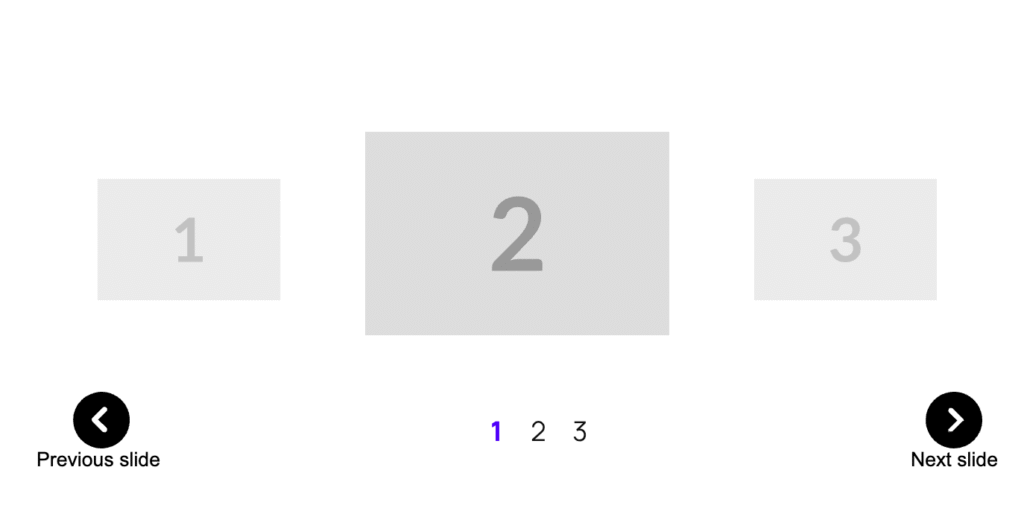
Highlight Middle – Center slide stands out with coverflow effect
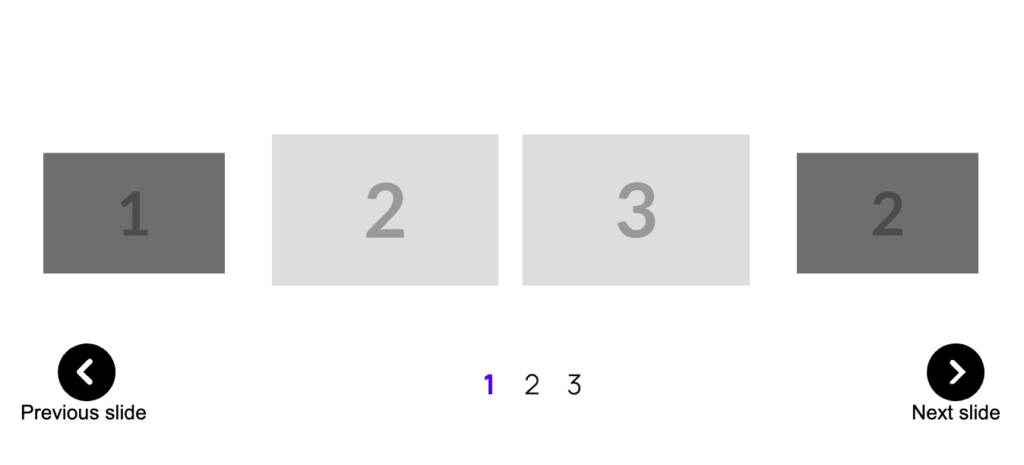
Highlight Group – Center group of slides highlighted
Desktop/Mobile Settings
Configure different behaviors for different devices:
- Slides Per View (Desktop) – Default: 3 slides
- Slides Per View (Mobile) – Default: 1 slide
- Direction – Horizontal or vertical scrolling
- Scrollbar – Enable for mobile/desktop separately
Autoplay & Loop
Make your slider automatic:
- Enable Autoplay – Slides advance automatically
- Autoplay Delay – Time between slides (default: 3 seconds)
- Enable Loop – Continuous cycling through slides
- Slides Per Group – How many slides advance at once
Pagination Settings
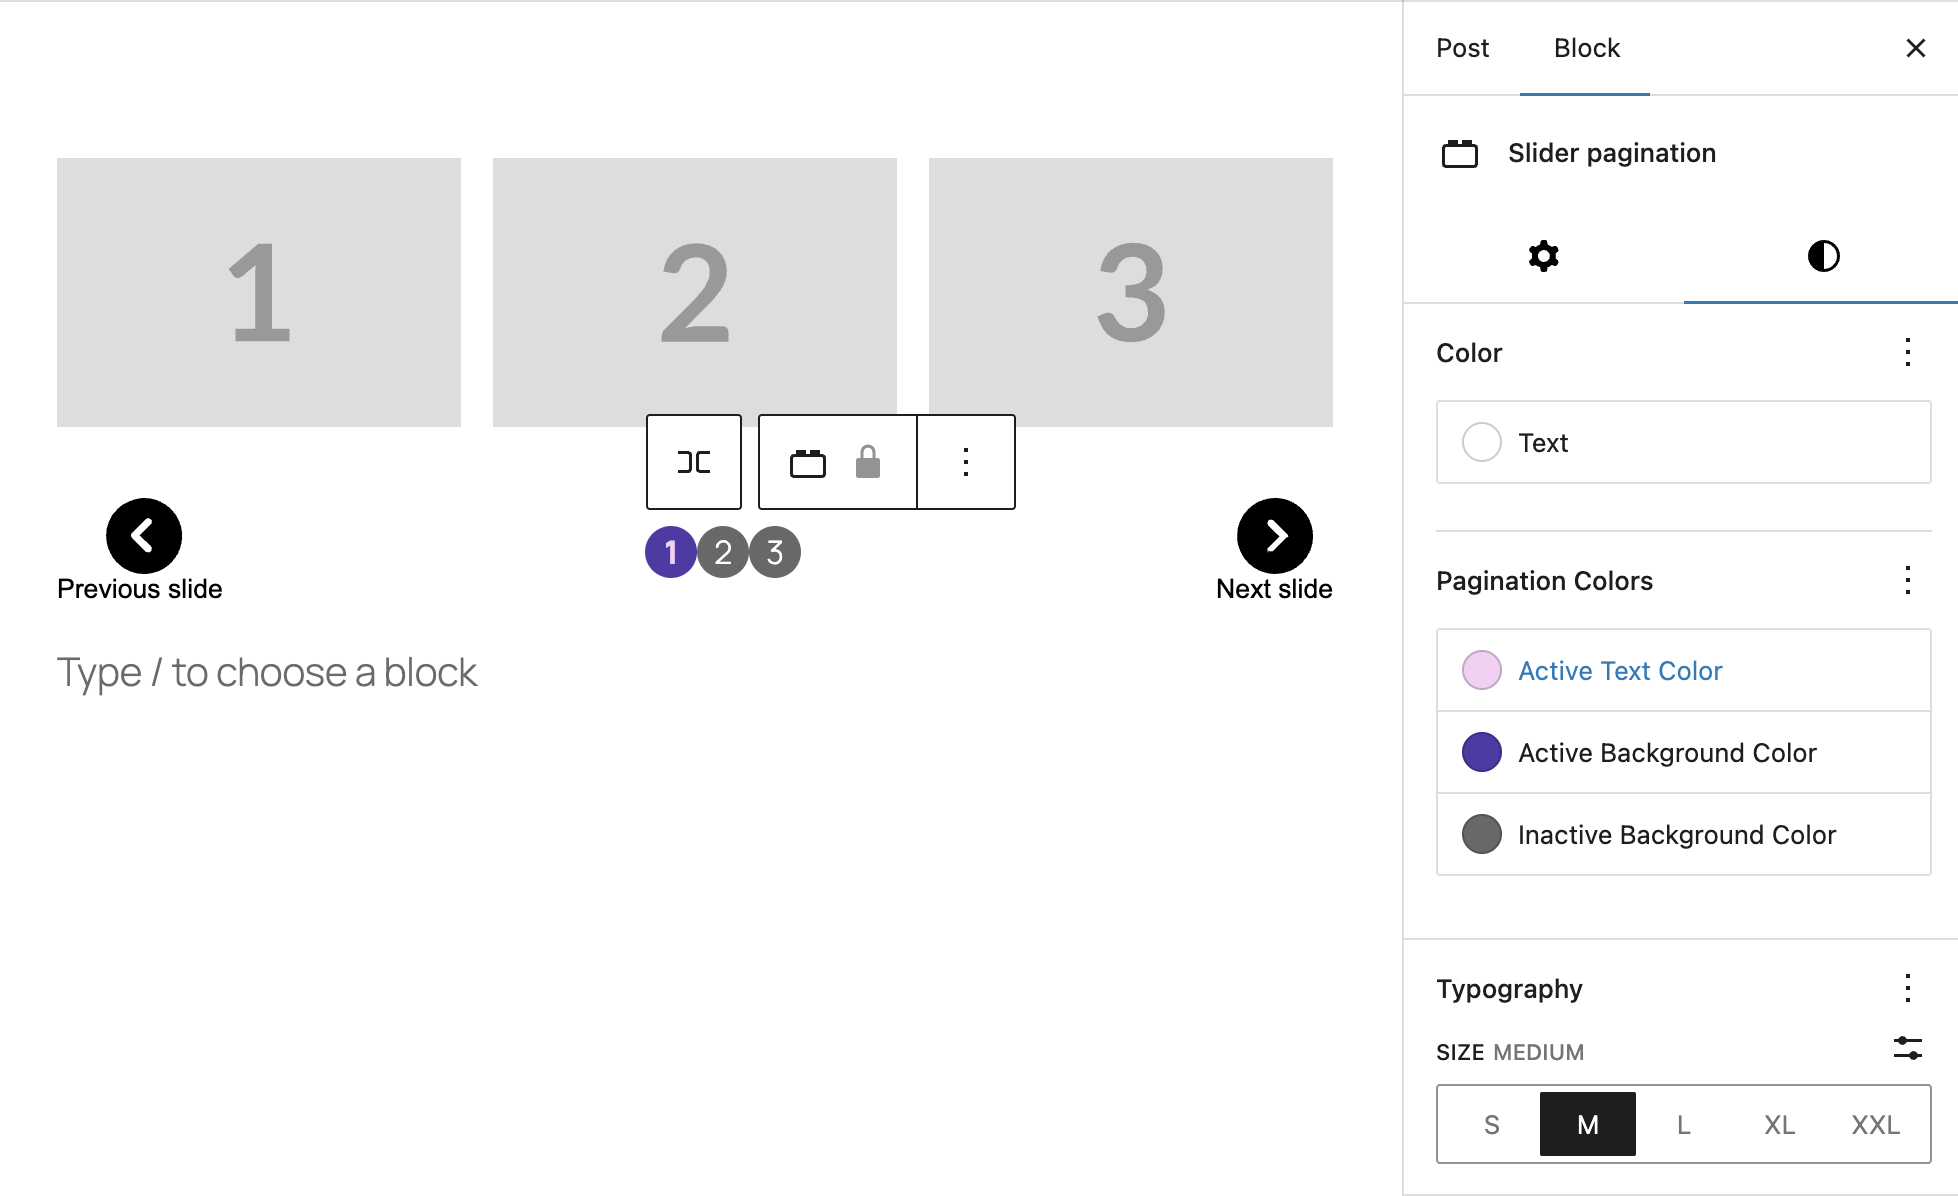
If you have Pagination enabled (dot indicators below the slider), use the Color and Typography panels to adjust their visual style:
Color Settings
- Text – Sets the color of the slide numbers inside the pagination dots.
- Active Text Color – Sets the text color for the dot corresponding to the currently visible slide (e.g., the ‘1’ in the purple dot).
- Active Background Color – Sets the background color of the dot corresponding to the currently visible slide (e.g., the purple dot).
- Inactive Background Color – Sets the background color for all other (non-active) pagination dots (e.g., dots ‘2’ and ‘3’).
Typography Settings
- SIZE – Change the size of the pagination dots, with options ranging from S (Small) to XXL (Extra Extra Large). The default size is L (Large).
Example Setups
Image Gallery
1. Add Slider block
2. Set Slides Per View: 3 (Desktop), 1 (Mobile)
3. Enable Navigation and Pagination
4. Add Image blocks to each slide
5. Enable Loop for continuous browsing
Testimonials Carousel
1. Add Slider block
2. Choose "Highlight Middle" style
3. Set Slides Per View: 3
4. Add Quote + Paragraph blocks to each slide
5. Include customer name and photo in each slide
Product Features
1. Add Slider block
2. Enable Autoplay with 5 second delay
3. Set Slides Per View: 1
4. Add Heading + Image + Button to each slide
5. Disable Navigation for cleaner look
Team Members Grid
1. Add Slider block
2. Choose "Highlight Group" style
3. Set Slides Per View: 4 (Desktop), 1 (Mobile)
4. Add Image + Heading + Paragraph for each team member
5. Enable Pagination dots
Navigation Controls
The slider includes automatic navigation controls that you can customize:
- Previous/Next Arrows – Click or use keyboard arrows
- Pagination Dots – Jump directly to any slide
- Touch/Swipe Support – Mobile-friendly gestures
- Keyboard Navigation – Arrow keys for accessibility
Tips & Best Practices
- Consistent Content – Keep slide heights similar for smooth transitions
- Optimize Images – Use properly sized images for faster loading
- Use Zoom Mode – Perfect for managing slides with lots of content
- Accessibility – Add descriptive label to slider and alt text to images in slides
Quick Troubleshooting
Slides not showing correctly?
→ Check your “Slides Per View” setting in the sidebar
Can’t add more slides?
→ Use the “Add New Slide” button in the Slide Manager panel
Content overlapping?
→ Increase the “Slide Gap” setting or use consistent image sizes
Zoom mode not working?
→ Click the Zoom Mode button in the block toolbar (not the sidebar)
Leave a Reply